Augmented Reality (AR) transforms how users interact with digital content, overlaying virtual objects onto the real world for gaming, instruction, navigation, and more. Leveraging Apple’s ARKit and Google’s ARCore, developers can build robust AR apps without starting from scratch. By adopting targeted lifehacks—covering quick environment setup, 3D asset optimization, gesture controls, and debugging shortcuts—you’ll accelerate prototyping and deliver polished AR experiences in record time. This guide explores essential techniques to help you craft overlays, navigation assistance, and interactive guides with minimal friction.
Understanding ARKit and ARCore Fundamentals

Before diving into prototyping, it’s crucial to grasp the core features of ARKit and ARCore. Both frameworks provide plane detection, ambient light estimation, and motion tracking to anchor virtual objects in the user’s environment. ARKit excels on iOS devices by integrating tightly with SceneKit and RealityKit, while ARCore brings similar capabilities to a broad range of Android hardware. A key lifehack is to start with each platform’s sample projects—Apple’s “ARKit Image Recognition” and Google’s “HelloAR” contain preconfigured scenes demonstrating plane detection and object placement. Studying these templates reveals best practices for session configuration, camera permission handling, and performance tuning, giving you a head start on your own prototypes.
Rapid Prototyping with Placeholder Assets
Waiting on final 3D models can stall development. Instead, use simple placeholder geometry—cubes, spheres, or low-polygon primitives—for initial layout and interaction tests. Both ARKit’s Reality Composer and ARCore’s Sceneform allow you to swap in placeholder assets directly in their visual editors. This lifehack lets you fine-tune hit-testing and object scaling without the overhead of importing detailed assets. As soon as the interaction flows correctly, replace placeholders with production-ready models. Because you’re iterating on functionality rather than visuals, your prototype remains lightweight and performant, reducing compile times and device resource usage.
Optimizing 3D Model Performance
High-fidelity models often strain mobile GPUs, leading to dropped frames and jittery tracking. To maintain a smooth 60 fps experience, optimize assets by reducing polygon counts, baking lighting into textures, and limiting material complexity. Tools like Blender’s Decimate modifier can quickly lower mesh density, while texture atlasing merges multiple texture files into one to minimize draw calls. Another lifehack is to employ Level of Detail (LOD) groups: swap out high-detail meshes for simplified versions when objects move farther from the camera. These optimizations ensure fluid motion and stable AR session tracking, even in complex scenes with multiple virtual elements.
Implementing Gesture Controls and UI Overlays
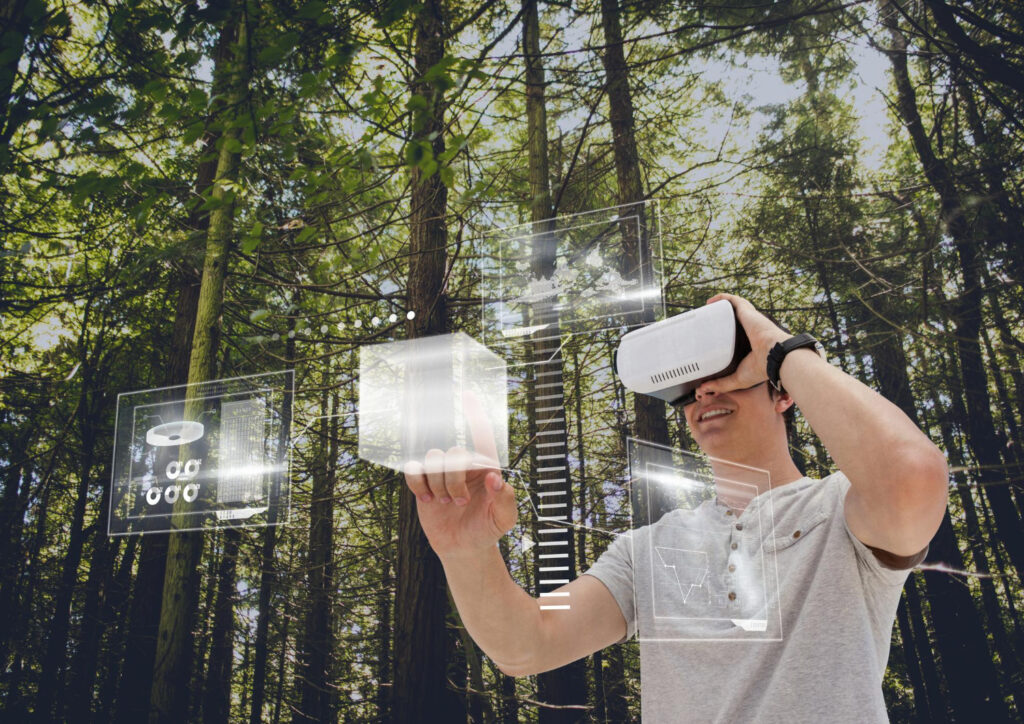
Effective AR experiences combine intuitive gestures and unobtrusive UI elements. Use built-in hit-testing callbacks to interpret taps, swipes, and pinch gestures for object placement, rotation, and scaling. Both ARKit and ARCore support gesture recognizers—attach a pinch recognizer to adjust object scale, or a pan recognizer to slide 3D menus into view. As a UI lifehack, overlay transparent 2D buttons or floating tooltips rendered in a Canvas (Unity) or SpriteKit (iOS) layer; these remain anchored to the camera view rather than the world coordinates. This approach lets users access controls without losing immersion, making your overlays feel like natural extensions of the AR world.
Testing, Debugging, and Iteration Shortcuts

Testing AR apps across varied environments is essential but time-consuming. Speed up the process with emulator and live debugging tools. Xcode’s ARKit simulator lets you replay recorded sessions, simulating planar surfaces and lighting conditions without needing real-world setup. On Android, ARCore’s Cloud Anchors enable you to share reference points between devices instantly, letting remote teams test shared experiences. For on-device debugging, integrate real-time logging overlays that report tracking state, frame rate, and feature point density. When an issue arises, these overlays pinpoint whether the problem lies in session configuration, model performance, or gesture handling. By incorporating these debugging lifehacks, you’ll identify and resolve issues rapidly, ensuring a smoother development cycle.
With these lifehacks—leveraging sample projects, using placeholder assets, optimizing models, crafting intuitive gestures, and employing smart debugging tools—you can create compelling AR prototypes and production apps without unnecessary complexity. Whether you’re building an interactive instruction guide, an indoor navigation system, or a gaming overlay, these strategies will help you deliver immersive, high-performance AR experiences with ease.

Leave a Reply