Achieving precise, high-quality 3D prints doesn’t always require expensive upgrades or professional expertise. By focusing on basic printer tuning and material calibration, you can consistently produce parts with sharp details, accurate dimensions, and smooth surfaces. These simple lifehacks address common sources of inaccuracy—mechanical looseness, temperature fluctuations, and filament inconsistencies—and turn your printer into a reliable precision tool. Follow these straightforward tips to enhance model fidelity and get predictable, repeatable results every time you hit “Print.”
Tighten and Align Mechanical Components
Wobble and backlash in your printer’s frame, X-Y belts, and lead screws introduce dimensional errors and ringing artifacts. Begin by checking that all frame screws and corner brackets are snug—use a hex key to gently tighten each fastener without over-torquing. Next, inspect belt tension: belts should be tight enough to pluck like a guitar string but still flex under firm finger pressure. Loose belts allow the carriage to drift, while overtight belts cause excessive wear or step loss. Finally, realign your print bed and gantry: use a square or a printed right-angle test piece to verify that axes are perpendicular. By regularly performing these mechanical lifehacks, you eliminate play and ensure the motion system translates G-code into precise movements.
Calibrate Extruder Steps and Flow Rate
An extruder that over- or under-feeds filament leads to dimensional inaccuracy and poor layer adhesion. To calibrate, mark 120 mm of filament above the extruder entry, command the printer to extrude 100 mm, then measure the remaining filament above the mark. Adjust the steps-per-millimeter (E-steps) in firmware or your slicer until the extruded length matches the commanded length exactly. Next, fine-tune the flow rate (extrusion multiplier) by printing a single-wall cube and measuring wall thickness with calipers. Adjust the flow percentage in 1 % increments until measured thickness aligns with your specified nozzle diameter. These calibration lifehacks ensure the exact amount of filament is deposited, producing consistent, high-quality results.
Optimize Temperature and Cooling Settings
Print accuracy depends heavily on thermal stability. If your nozzle temperature is too high, filament can ooze and cause dimensional bulges; too low, and layers won’t bond properly, leading to gaps. Perform a temperature calibration tower: print a test model with sections at incremental temperatures (e.g., 190 °C to 230 °C) and inspect for the sharpest overhangs and cleanest strings. Choose the temperature that balances fluid flow with shape retention, then lock it into your material profile. Equally important is part cooling: set your part cooling fan to 100 % for PLA and around 50 % for PETG to solidify layers quickly and prevent sagging. These thermal lifehacks deliver crisp overhangs, accurate bridges, and uniform surface finishes.
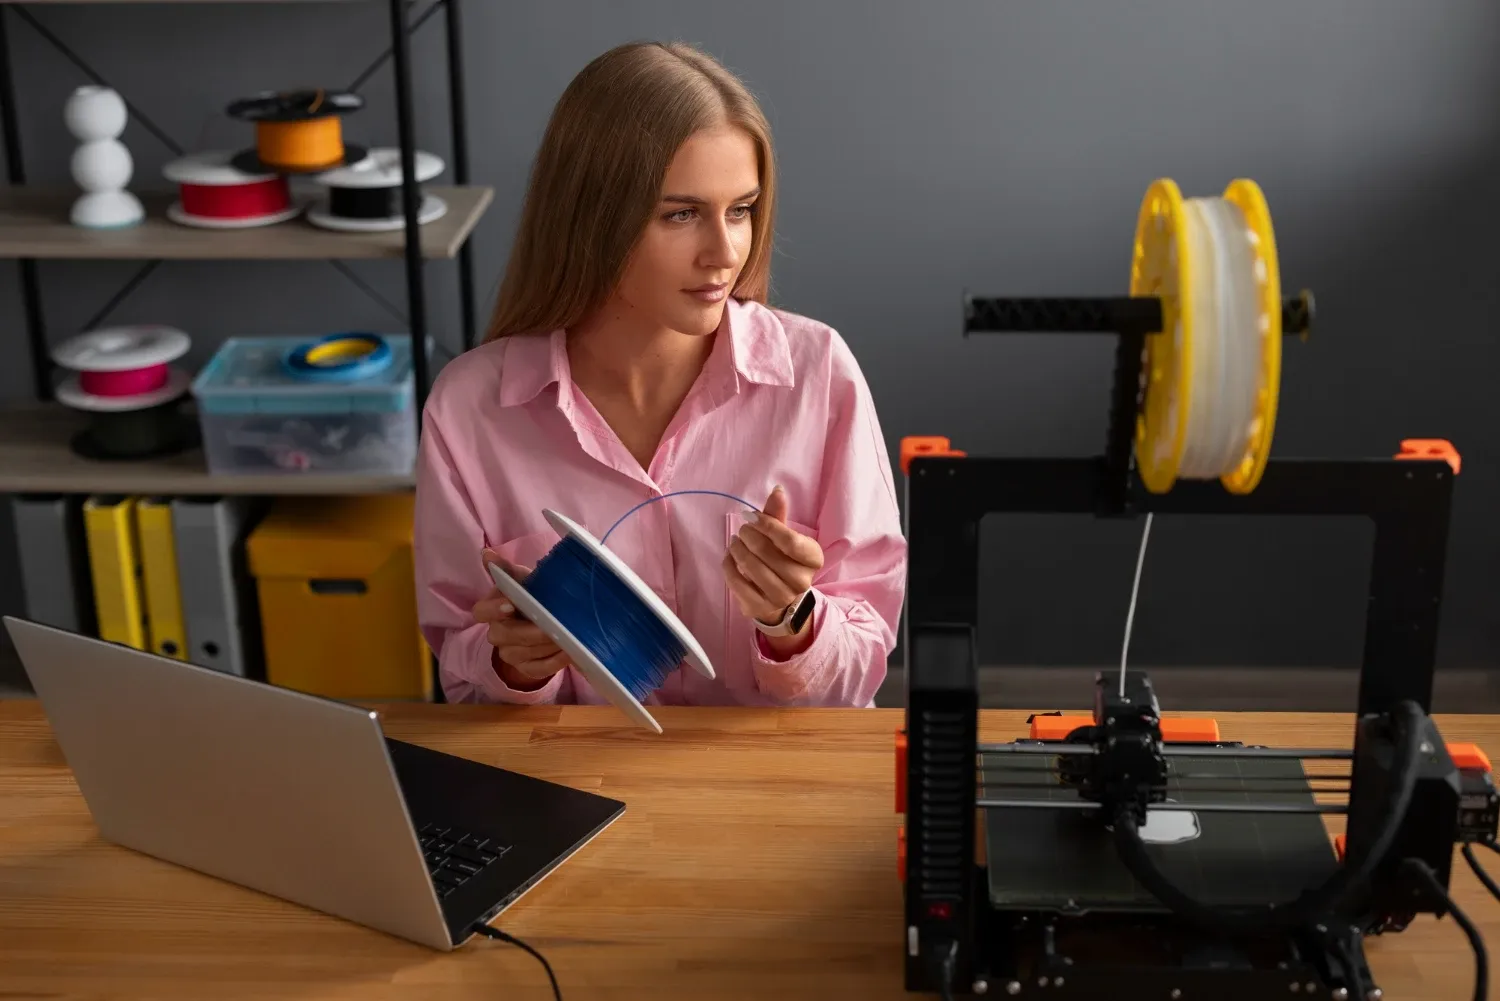
Use High-Quality Filament and Dry Storage
Inconsistent filament diameter or moisture-laden spools ruin print precision by altering flow and adhesion. Invest in filament from reputable brands that guarantee tight diameter tolerances (±0.02 mm). Before printing, measure your spool at several points with calipers to confirm consistency; if out of spec, adjust your slicer’s diameter setting to match the average. To prevent moisture absorption—which causes bubbling, poor layer bonding, and nozzle clogs—store filament in airtight containers with desiccant packs or use a filament dryer before each print. These material lifehacks ensure a constant, dry feed, translating directly into sharper corners and more reliable dimensional accuracy.
Implement Routine Test Prints and Iterative Tweaks
Even after initial calibration, regular verification keeps your printer on track. Schedule weekly test prints—such as calibration cubes, overhang tests, and dimensional accuracy bars—and record deviations in a simple log. If a particular axis shows consistent under- or over-sizing, revisit belt tension or axis alignment. For recurring surface artifacts, adjust acceleration and jerk settings in your firmware to smooth out transitions. By systematically applying these iterative lifehacks, you catch drift early and refine your profiles, maintaining precision as hardware and materials age. With consistent checks and tweaks, your printer becomes a dependable workhorse for flawless, high-quality 3D models.
Leave a Reply